Summer is busy. Trying to start a new business doesn’t allow for much modeling time. People laugh at me asking why did I jump out on my own? I generally reply that I got tired of working for jerks. If you only knew the one that I work for now! So suffice it to say, there is not much modeling being done on the layout. I have, however, put a few projects on the bench that I can work five minutes here and five minutes there on.
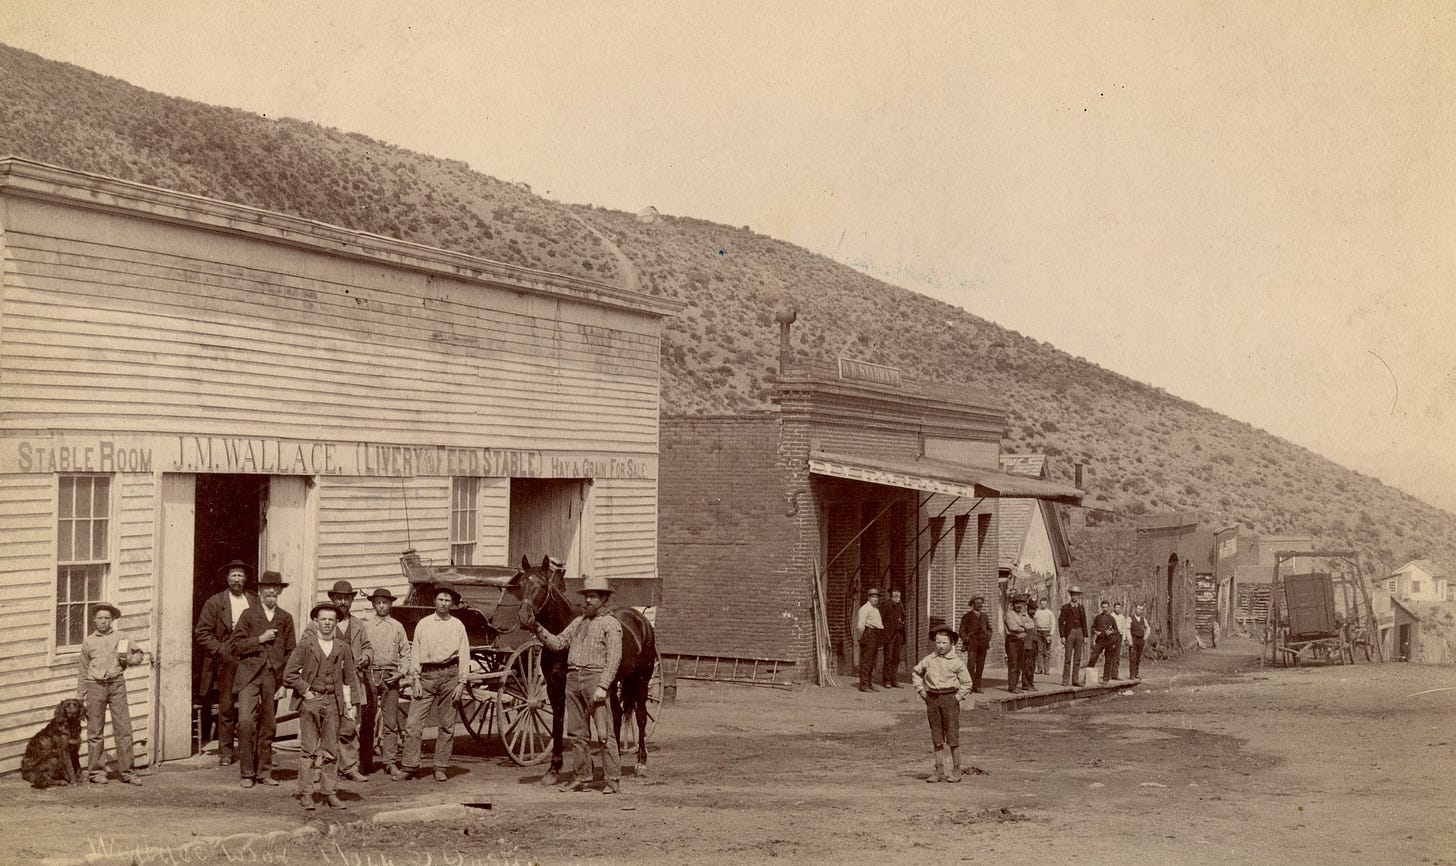
As I promised a month ago, this post is dedicated to horses. I had so much interest in my horse painting demo that I felt I should share it here. It might be just the circles that I have been running in, but it seems to me that there is an uptick in those who model around the turn of the century, the last one, not this one. This has been made much easier by the efforts of a number of small manufacturers who have been designing and producing wagons and teams to pull them.

I will cover painting a “bay” horse. Bays are probably one of the most common color patterns of horse colors. They are not a specific breed but the coloring can appear in a number of breeds of horses. They are a reddish brown with black accents and can come in a wild variation of colorings from buckskin to nearly all black. We will cover just getting the reddish colored version down.
There are many 1:48 horses, mules and oxen in production now from Aspen Models, Berkshire Valley and Knuckleduster and others (just search eBay for others) there are a number of options.
Step one. Wash the horse and primer it. A small amount of dish soap in warm water will remove oils and mold release agents. Set it aside to dry. If it is metal or resin, I like to give it a shot of primer. I have found that often the paint that I use might flake off if I don’t do this. Painted horses like the Aardvark one here don’t seem to have that problem, so I don’t worry about spraying them. I use an “inexpensive” Rustoleum metal primer. I say that with quotes only because the last time I bought it, it was $8 a can. Nothing is truly inexpensive anymore.
Step 2. Paint. In my search for paint after Floquil shut down, I was for years in and out of color. I went with Model Master enamel and acrylic, they shut down. I tried others and was not happy. Finally, I tried Vallejo and Mig. I am happy with these acrylics for this work. I have invested heavily in them and hope that they don’t shut down anytime soon. One of the other reasons that these work well for figures is the quick drying time. You will see how this helps as we work down.
Basically, I start dark to light in my treatment of figures and critters. Some people use and start with black, I don’t use black unless I need a void. Absolute black represents the lack of color, or anything really. So unless there is a hole, there should never really be “black” used in my world. I say this because even “black” items on people or animals are subject to light variations and can be covered in grays, blues, greens or other colors depending upon the light it is seen in. So I use them to represent shadows and holes are reserved for ‘black”.
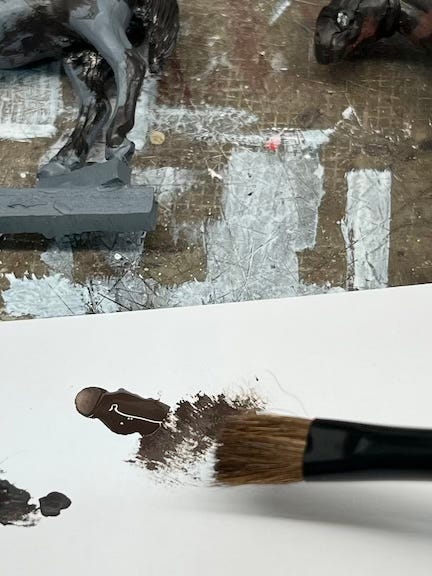
Our horses today are harnessed. I need a ton of dray animals on the layout. No autos yet in 1881, beasts of burden it is. I begin by using a very dark color. I like to start with German Cam Black-Brown. It is a color that is used in the “flecktarn” pattern of German Army camouflage and is available from people who sell Vallejo paints. Mig, and Vallejo mix readily with each other being acrylic based with water clean up.
I use it full strength to get down into the crevices and folds of the animal. I don’t worry about neatness, this is the darkening of shadow phase and most will be somewhat covered up as we move down the list. Just be sure to get into all the nooks and crannies of the leather work and harnessing. If you are working on an unsaddled or unharnessed horse, the same principle applies. do all the recesses of muscles and joints. You will overpaint this later but the shadow will change the tone of your color the way that we are doing this today.
Once everything “shadow” is painted, we will begin to color our horse, dark to light. For this horse I am going with the basic coloring of the bay. I will also add a blaze to its head as I don’t think that I have done that on other horses that I have painted recently. I try to vary them so that I don’t get the same horse pulling everything. So I’ll do one light, one dark, one with socks, one without, you get the idea. No two the same, even though they might be the same casting.
We are going to use a “dry brush” method to color our horse. Get a large wide brush to use, it should be pretty soft. Put a little paint on a pallet. I use index cards, they cheap and easy. I have a stack on the shelf next to my work area. Put a little paint on the card. Again I start darker, for this project I will use Dark Rust. Put just a bit of paint on the brush and take a few swipes to get much of it off. Then quickly, and I mean quick, do light passes over the recessed areas. Just flick the brush. We want some of the shadow color to show through, not “paint” the area. We are highlighting, even the shadow area. Neatness does not count yet, we are going for color.

Next we are going to lighten up the color, for my demo I will change colors. Often I “mix” a lighter tone with two paints. I never use white for this, for the same basic reason that I never use black. It is too stark and “pinks out” browns and reds. It also brings details too far forward, the opposite of the “hole” black idea. Here, a basic understanding of the color wheel is a good idea. What can be blended to change the tone? If this is too much color science, just get a lighter version of a similar color from the tube of your collection. For this project we will abandon the science and use Mahogany Brown next so that anyone can easily follow along. For this coat, use the same technique that we used last. Light fast strokes but concentrate on the higher (less depressed) details. We are beginning to work up to highlights for the over all animal.
Then yet again we go lighter and even less paint. We are getting to the highlight zone. Where the sun only touches the highest parts of the animal. We use Red Brown for these highlights.
One more lighter color and the coat for these critters is complete in my mind. Switch to German Spring/Summer Highlights. This is used VERY judiciously and only on the highest parts of the animal. This is where the sun hits the bones and ears nose and such. The post is too long to support an image of that, but the method is the same, but less coverage.
Now it is time to do the mane and tail. Bays have black manes and tails, it is an identifying coloring. So here we are going to divert from my anti “hole” black and use straight black to fill in the voids of the mane and tail. Use your small brush to control it. Neatness only counts around where you have painted its coat. Then we use a little brown or in the case tonight, I used a bit of ivory to “gray” the black and Brown-Black mix that I was using. I used the Ivory for the socks on the Aspen horse and for the blazes on both. Never White. Just a LITTLE Ivory mixed in… when highlighting, too much and it will become white. Then lightly dry brush it over the high parts of the mane and tail castings for highlights.
Now we only have to go over the leather. I like “russet” leather for my working animals. Russet is less expensive than black. So while I use black leather, I use a lot more russet. Here don’t sweat it. You’ve already made your shadows between the horse and the leather. You only need to paint the top of the leather. For this I use a combination of Wood and Brown Leather. Brown Leather is not a great color over all, but the Wood warms it up. Makes a decent russet look and is different from the horse colors. For the big horse from Aardvark, I redid the black, yes, I used black, even after my admonitions. I haven’t done the metal yet, but I generally use brass. It was less expensive in the day, more economical for working horses.
Two horses, one hour. I am not shooting for up close and personal, the human eye fills in the missing details. But there are shadows and convincing highlights to make one think that they are super detailed. Thanks for following along. I have another project that I am working on… one of the five minutes here and there category. Stay tuned. Not sure how that will work out.


